Often we have this notion in our head that nail art is something too complex and hard to do! Plus, many of us do not prefer to do minimalist nail art under the misconception that it shows one as overly decked up for an occasion. But those are a few thoughts you need to throw outside the window when you are reading this article. Nail art does not have to be always too elaborate. You don't want to head to a professional meeting with nails that look ugly and spoil your entire look!
In this competitive world, you need to let yourself reach the zenith of perfection to leave a mark everywhere you go. Sometimes that is as simple as getting your nails done. This showcases that you pay attention to every little detail around you. In today's article, we will help you jazz up your look and create a mark of confidence with some minimalist nail art designs.
What is the most important step of nail art design?
Perhaps the most important step that one needs to be consciously doing in the case of nail art which seems to be most often neglected is the step to clean your nails. Unless and until the nails are prepared properly, you will not be able to give them a salon-like look. After all, that is what the experts often focus on.
Dip some cotton balls in the acetone and brush over the surface of your nails even if there are no paints on the surface. You need to moisturize your cuticles as well. Sometimes due to these repeated nail treatments, buffing, and so on, the nails can get dry and brittle! You need to revitalize them from time to time.
What is the next step after you clean your nails?
Once the nails have been effectively cleaned, you can now indulge in the three basic steps that will ensue. These include clipping, filing, and then buffing. If you observe that the nails have grown to different levels then you can clip, file, and trim it to the length that you wish to maintain.
You must have a nail buffer in the house because, for nail art, buffing is a crucial step. Use the tool and buff the top and the edges. The natural surface of the nail can release oil and this can hamper the longevity of the paints which will easily get tarnished or removed due to the slippery surface.
Don't forget to push back the cuticles
You should have a cuticle pusher to do this job. Be careful while you do this job because due to lack of attention sometimes infections can occur. And as we know, they are painful and you don't want to deal with such an unpleasant experience, do you?
First, begin with a few drops of cuticle oil to soften the skin and then push them back gently to create a free surface to do the designs. Pushing back is the best thing to do as cuticles protect the nails from infection and cutting them can only escalate the situation.
Is it essential to exfoliate the nails?
Well, we cannot stress more on this fact. This helps to eliminate the dead skin on the surface of the skin which can simply spoil the overall look. Generally, apart from nails, the entire finger, hand, and palm should be exfoliated from time to time to shed the dead skin and bring in a natural glow.
Begin with the application of the base coat
All kinds of nail art, whether minimalist or elaborate, need one thing for sure and begin from a common point. Yup, you guessed it right! The base coat. The base coat not only acts as the canvas for designing but also keeps the nails moisturized and prevents any form of staining.
Allow the coat to get completely dried off before you proceed. After two to three minutes, you can apply the first coat of the color that you are aiming to opt for. Make sure you cover most parts of the nail bed in the first step, and the second stroke can be the finishing touch.
Don't forget about the top coat
Based on the design that you choose, the patterns can be made. There are so many minimalist nail art ideas that one comes across, pick the one that you prefer the most. To seal the deal, you need the top coat. It is scratch-free and glossy, giving a gorgeous finishing touch to your nails. To give a mirror-like appearance to your nails, one should opt for a top coat otherwise the surface often remains bumpy.
Now, having said that, the only way to know whether you have accomplished the design or not, is to try it on your own.
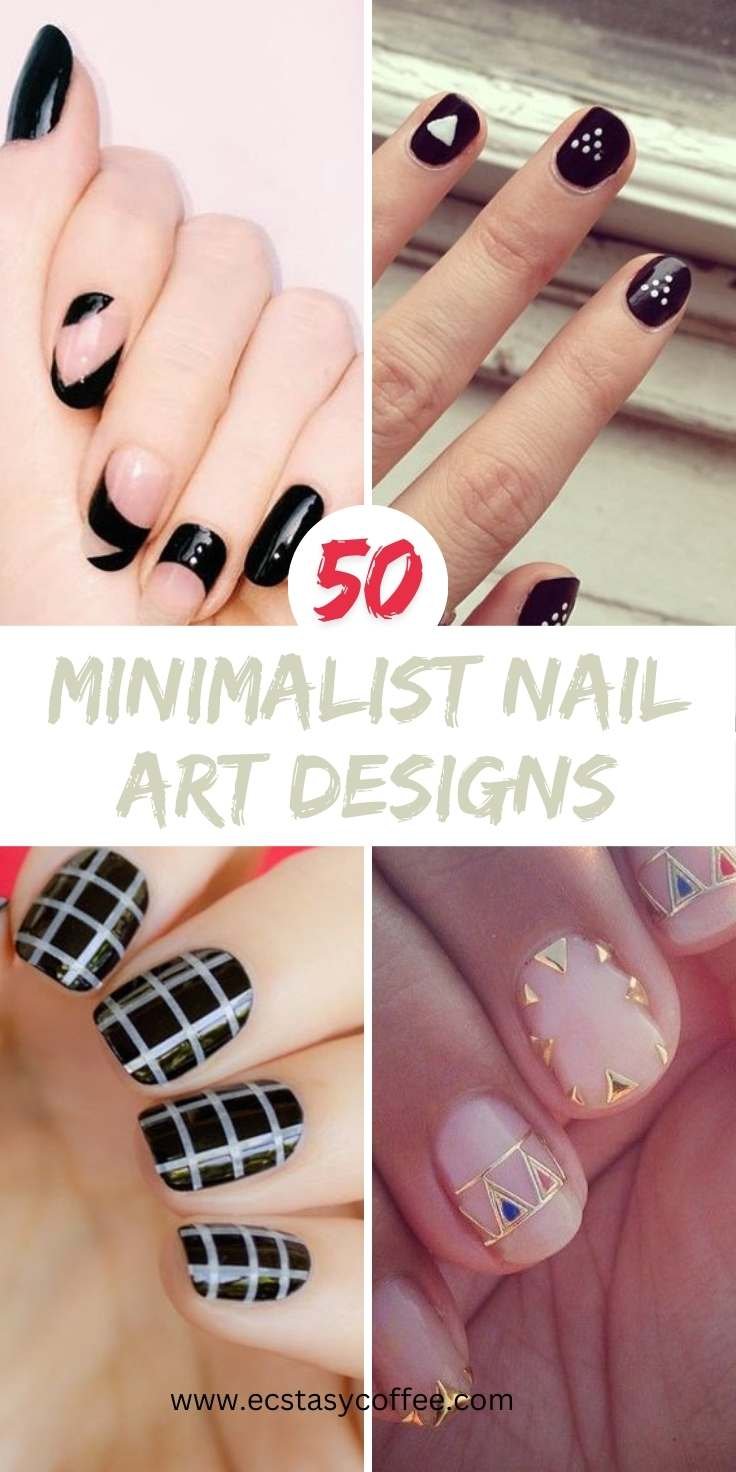
Minimalist Nail Art Designs
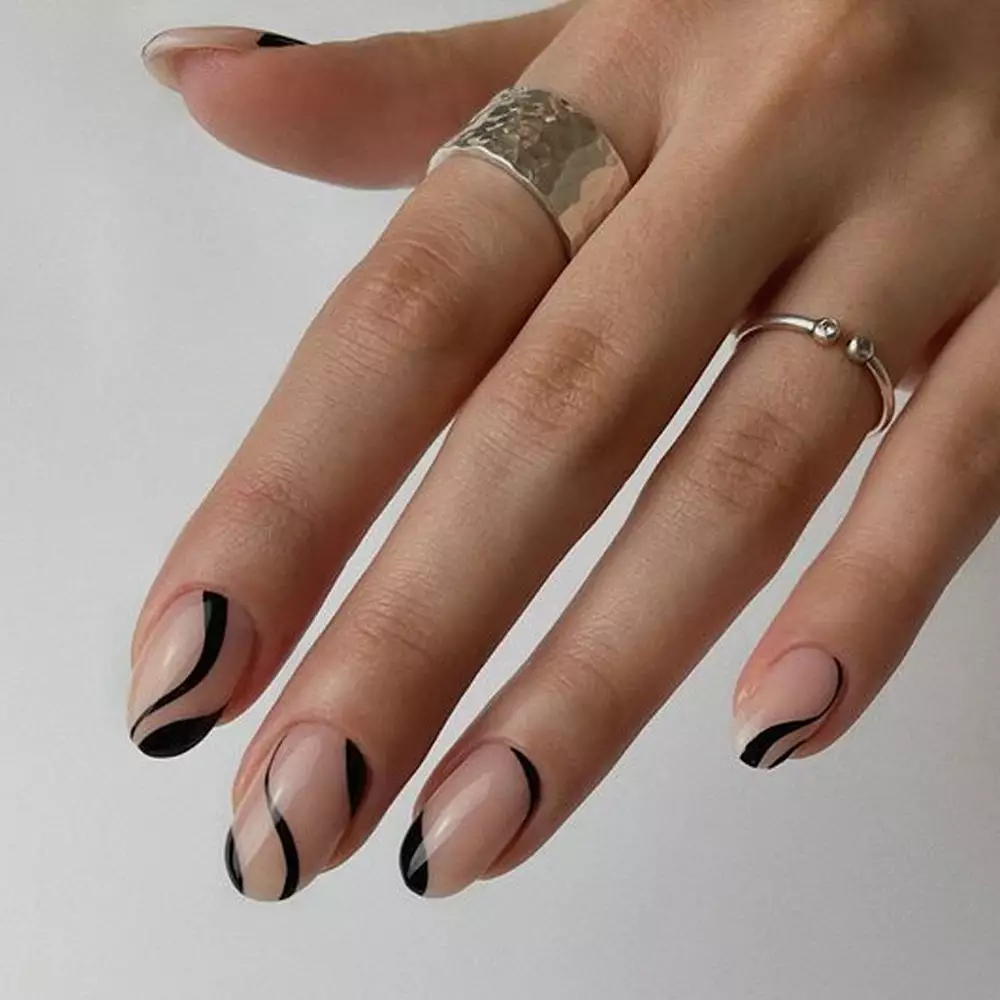
1. Waves Nails
2. Pastel French with Chrome

3. Pink Ombre

4. Gold French

5. Blue Hearts

6. Clouds Art

7. Daisies Art

8. Minimalist Green French Tips

9. Sage Green Elegance with Diagonal French Tips

10. Colorful Floral Art on Sage Green Nails

11. Botanical Line Art with Nude and Green Polish

12. Sage and Nude Nails

13. Soft Pink and Sage Nails

14. Minimalist Leaf Patterns on Pink and Green Nails

15. Transparent Floral Elegance with Sage Accents

16. Subtle Sage and Botanical Florals

17. Spring French Tips

18. Soft Green Florals

19. Blossom Branches with Soft Sage Polish

20. Sage Green with 3D Bow and Floral Details

Read also:
Leave a Reply