The season of falls brings along with it a sense of romance and joy! Something that portrays a combination of fulfillment and the courage to let go. The trees portray that there is beauty in shedding and taking a rest once in a while. Amidst the sense of peace and pleasure that surrounds us, if you wish to indulge in it more, there is nothing more beautiful than engaging in artistic jobs.
In this tutorial, we are going to help you design these gorgeous fall nail art patterns and ideas. Make them come alive with your effort and creative skills.

When you are trying to create a simple pumpkin nail art
Pumpkins! Yup, the fall season is not complete with the gorgeous pumpkin on Halloween! You tell anyone to describe falls and the first thing that will come up is orange, bright, and vibrant pumpkins. So, why not begin with the basics first? Yup, let’s see the steps to make pumpkin fall nail art.
1. Begin with the nail prep-
As you know, before one does any kind of nail art, the nails need to be cleaned properly. This begins with using acetone and a cotton swab! Dip it in solution and then wash the nails properly.

pic source
Make sure no stray colors or nail paint are left behind from the previous treatment that you have done. The cuticles should be gently pushed back but only after the application of cuticle oil. You may even use some petroleum jelly as this hastens up the process of cleansing your nails.
2. Application of the base coat-
Now, you may apply the base coat! One to two layers of base coat is enough to cover the entire surface. It will not only make your manicure last longer but also prevent any kind of stain that may occur on the surface of the nail bed. Generally, a light and neutral shade is what you should opt for. Beige, white, tan, and cream are some of the shades commonly used for the base coat.

pic source
3. Now, paint a half-circle with orange-
Use the orange shade to design a half-circle on the face of the nail. Then you will need a thinner brush to create stripes on the half-circles denoting the marks on the pumpkin. A lighter shade of orange can be used for this purpose. But make sure that between every step, the polish is allowed to dry off.
Use a dot to denote the stem of the pumpkin. You may opt for a black shade in this regard. And finally, you may use green to create a thin, twirling step for the stems.

pic source
4. Application of the final topcoat-
Once you are done with the design, allow the paint to dry off completely before you apply the transparent topcoat. One to two layers are enough to cover your nails and give a glossy effect.
With that, your fall pumpkin design will be done and ready to flaunt in front of everyone.

pic source
5. Sunset Kissed Nails

pic source
6. Beyond Halloween

pic source
7. Orange and Nude Ombre

pic source
8. Dark Brown Gradient

pic source
9. Vibrant Orange Gradient

pic source
10. Neutral in Grey

pic source
11. Vibrant Red Ombre

pic source
12. Muted Individual Ombre Nails

pic source
13. Ombre Nail Tips

pic source
14. Nude Ombre Nails

pic source
15. Acrylic Fall Ombre Nails

pic source
16. Fall Glitter

17. A Touch of Leopard

pic: @gypsytan
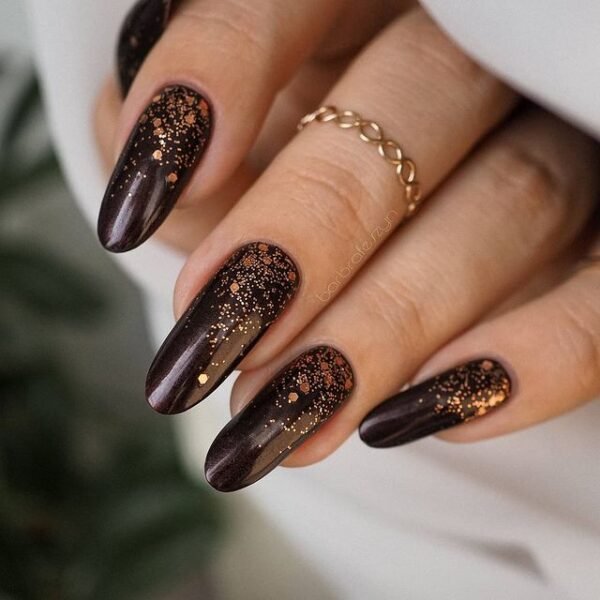
18. Dark gloss

pic @bagabieva_nails
19. Little Details

20. Black Tips

pic @charsgelnails_
21. Neutral Tips

pic @charsgelnails_
22. Whites and Blacks

23. Cable Knit Tips

pic @nailchark
24. Autumn Sparkle
pic @barbrafeszyn
25. Just Marble

pic @nailsmade
26. Patterns and Browns

27. Dark Ombre

pic @dtkaustin
28. Cute Tips

pic @majamarkowicz
29. Glossy and Matte

pic @nailchark
30. Green Tips

pic @allnailss._
How to do fall leaf nail art
We cannot miss out on the red and orange leaves of fall and hence here is a nail art similar to leaves but with more glitter and shimmer.
1. Begin with prepping your nails-
The initial steps are the same as pumpkin nails. You need to clean your nails first like you would do for any form of nail art. Cotton and acetone are used to clean the surface and cuticle oil is used for hydrating and softening the skin around the nails.
The cuticles are gently pushed back to create enough space for the designs. However, care should be taken that in the process, you cause no wear or tear leading to infections. Then apply the base coat on the nail and allow it to dry off before you proceed.
2. Now dip a make-up sponge in a bottle of glitter-
You need glitter nail polish or powder glitter with finer grains to do this step. Dab the glitter-filled sponge on the tip of the nails to get the ombre effect. Now apply a top transparent coat to seal the glitters on your nails. The thin pointed brush can be used to create the designs and patterns of the leaves.
If you are a beginner, you will need a few attempts and practice to get the patterns right. Finally, another layer of topcoat is used to finish it off.
You may choose to paint a single shade of leaves or two based on the kind of idea that you are emulating for your fall nails. If you observe that some amount of nail paint has spilled on the edges and the surrounding skin then dip a cotton swab in acetone and swiftly wipe around the edge to give a better finishing touch.
Leave a Reply