If you want your nails to look gorgeous and vibrant, then the rainbow nails are something you should try out. Plus, to acquire such enigmatic nails, you don't need to head to the salon and spend a fortune on your nail designs.
In the article, we are going to help you design the most flawless nail art designs ever! But why head to the parlor and ask an expert to do it for you when such patterns are so easy to make at home? Go through this article we have penned down for you and learn to do rainbow nails in a jiffy.

What are the items that you will need for a gorgeous rainbow nail art
Before you begin to do the nail art designs, make sure you have a couple of these items in hand.
- Have a non-chip top coat
- Some suitable nail polish
- Masking tape
- Tweezers and stickers
- Q-tips
- Angled cosmetic brush
- And finally, some acetone
- Dotting tool
- Base coat
- A small bowl
First, you should prepare the nails
Unless you prepare your nails first, the nail art design will not be long-lasting. Make sure your nails are properly cleaned and prepared before you begin with the design. To keep your nails healthy, make sure you do not skip a step. Begin with the usage of masking tapes around your finger. Some liquid latex around the nails can be used as well. First of all, you should apply the base coat and wait for it to dry off!
How to acquire the water marble design
With the usage of masking tapes and liquid latex, now you need to prepare the water for the marble! Begin by pouring some water into a small cup. Now drip the polish at the center of the water droplets. This way you need to do the same thing with every color. As you apply one after the other. Next, you can go for another layer after that, to mark the prominence of shade.
How to line them up
Once all your rainbow colors are lined up in their proper order, take a wooden stick and create the line on it. This can be done from the outer edge of the polish right towards the center. Make sure you don't run towards the circle. Keep repeating the circle unless a floral pattern is created around it.
Finally, you need to dip it in
As the final step, now just one more initiative, and your job will be done. First of all, have a white base polish. This will protect your nails from any kind of smudge. Now, since the patterns are made, you can move ahead and dip your nails in the pattern. Instead of dipping your naked nails into the water marble, it is best that you apply the base coat and dip your fingers after that! The shades are more prominent and successful for the latter.
After that, you need to clean the edges as well. Since you have dipped your fingers into the marble, some of it will remain stuck on the surface of the finger and the edges as well. Then you need to peel off the liquid latex whichever is extra and adhere to the surface. Use an angled cosmetic brush to do this job. Dip in acetone and remove the edges and the extras that are clinging to your nails.
What is the basic instruction for making rainbow nail art at home
If you are still not clear about how to get the beautiful nail art designs done, then here is an instruction column that we have tabulated for you.
- Prepare and file the nails to their desired shape before you go ahead and focus on the designs. Unless your nails are ideally shaped, you will find it hard to get the salon-like look.
- Then apply two layers of base coat on your nails. This will create a canvas for your nails where you can acquire the rainbow design. Allow the base coat to dry and then you may try out the next step in the nail art process.
- The usage of a water marble is extremely essential when you are doing the job of applying rainbow decor to your nails.
- Once you have acquired the design and the extra have been removed with the aid of the brush, you can give the finishing touch with the help of a clear top coat. Use a good quality top coat so that the designs look glossy and flawless.
Well, that brings us to the end of the process! If you are doing rainbow nail art for the first time in life then make sure you go through this article multiple times before you begin. After all, you wish to be successful in the end, don't you?
Need Rainbow Nail Design? Get the Perfect Look with These Ideas
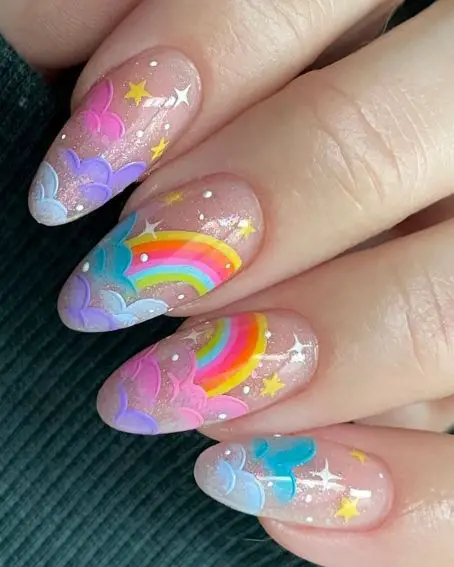
1. Lucky Charms Vibes

2. Rainbow Luck

3. Over the rainbow
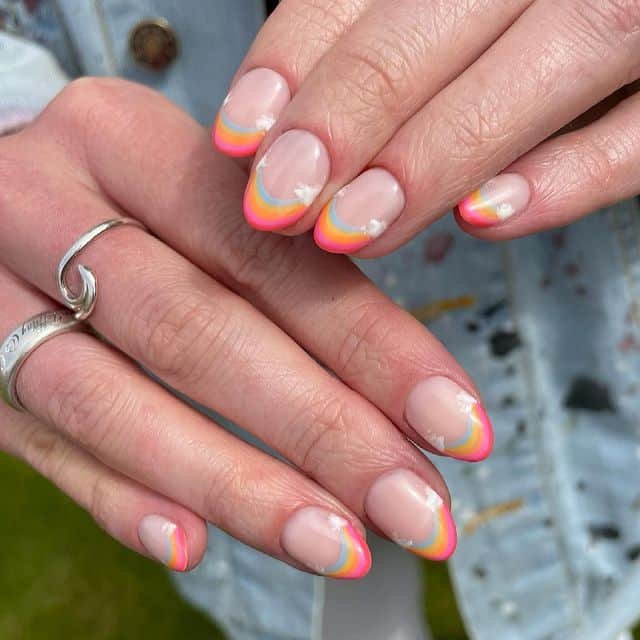
4. Ombre Rainbow Tips
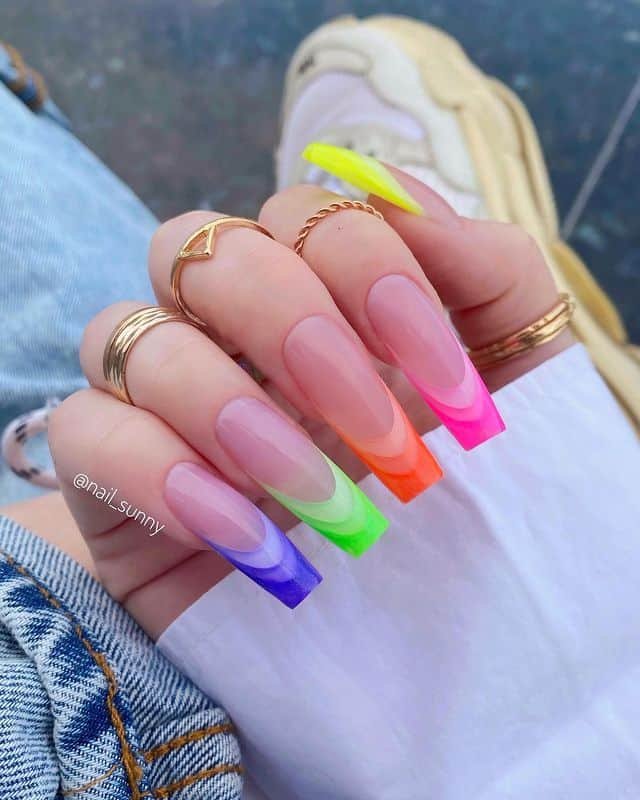
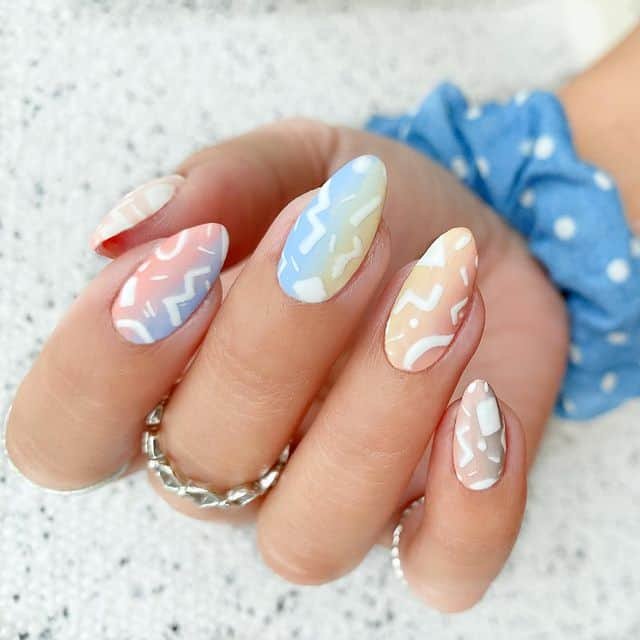
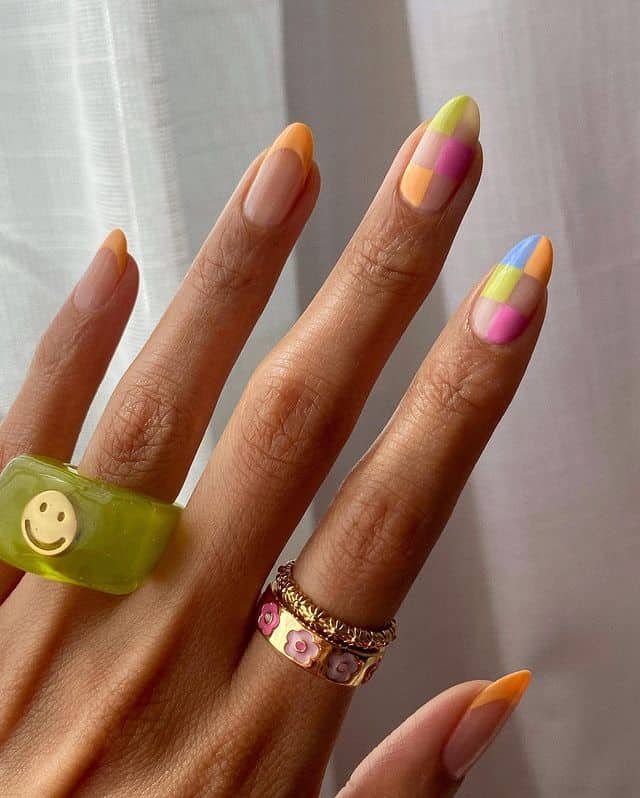
5. Geometric Rainbow

6. All the Colors

7. After the Rain Comes The Rainbow

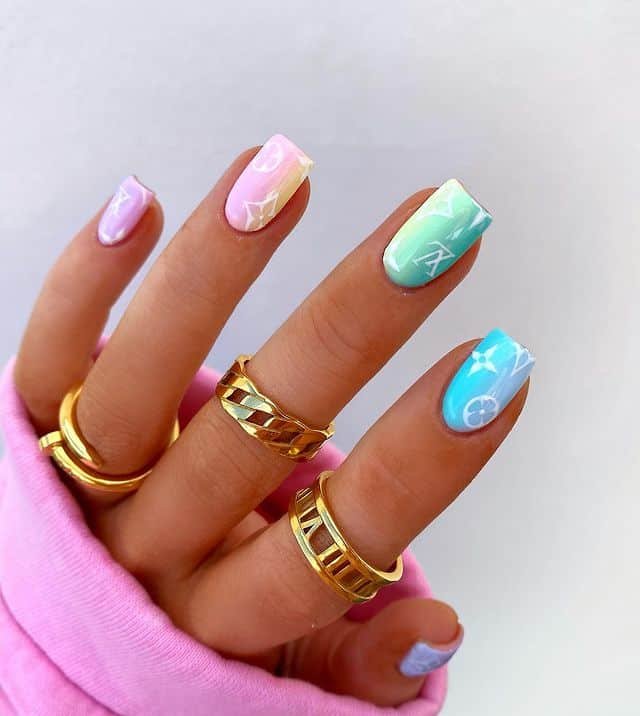
8. Pastel Rainbow
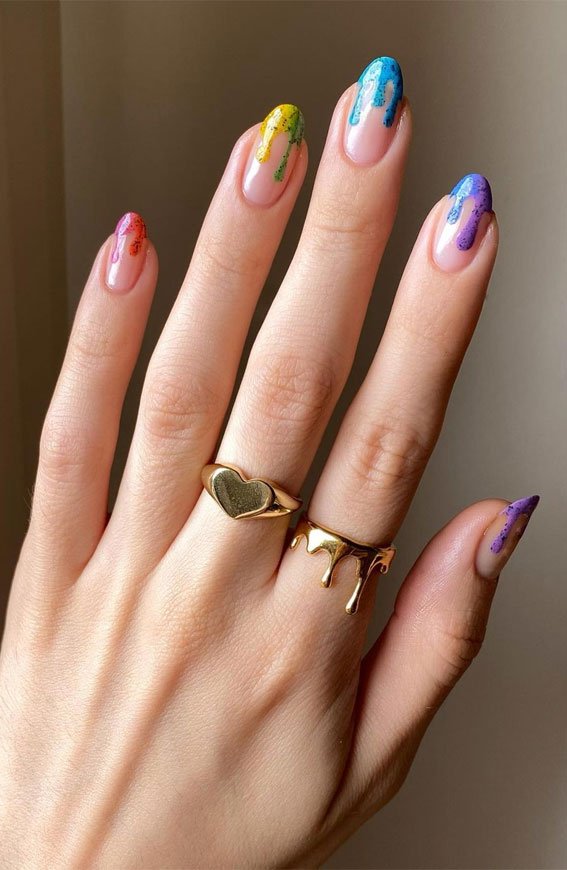
9. Melted rainbow drip tip nails
10. Pastel Rainbow + Sparkles
11. Rainbow Sheer Nail Art

12. Mix n Match Rainbow

13. Cute Rainbow & Different Colour Nails

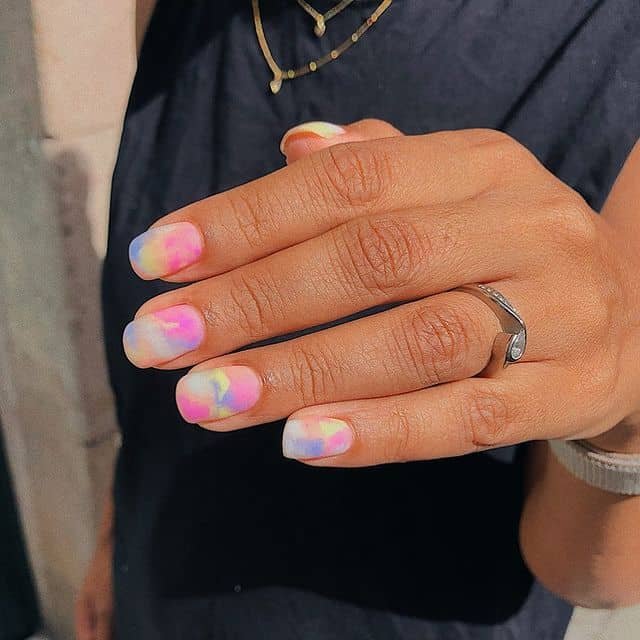
14. Rainbow Aura Nails
15. Fun and Positive Summer Holiday Nails
16. Rainbow Cow Print

17. Little Rainbow Hearts

18. Pops of color
19. Rainbow Abstract
20. Rainbow Stripes

21. Retro Rainbow
22. Designer Rainbow
23. Vintage Florals & Retro Pattern

@preciousnailsandbeautybynessa
24. Candy Clouds Rainbow Nail Art Design
25. Simple Rainbow Nail Art Design

26. Rainbow Nail Art Design on Nail Plates

27. Rainbow Tips Nail Art Design
Read also:
Leave a Reply